
How to Send Emails Through WordPress With Moosend’s SMTP Server
Published By Nick Dimitriou
December 6, 2023

06/12/23
Follow the steps below to seamlessly connect your WordPress Website with Moosend’s SMTP Server!
For the following connection, we’ve used the WP Mail SMTP WordPress Plugin.
Try Moosend Today
The easiest and most affordable email marketing and newsletter software!
Connect Moosend’s SMTP Server with WP Mail SMTP Plugin
Step 1 – Install WP Mail SMTP
Go to Plugins.
Click Add New and search for “Easy WP SMTP”.
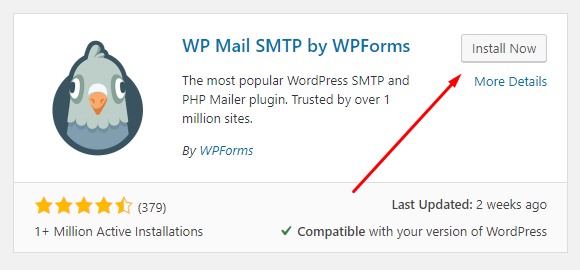
Click Install and Activate the Plugin.
Now you need to configure Easy WP SMTP Settings. Navigate to the plugin settings.

Step 2 – Configuring SMTP Settings
Within the settings, you will be prompted to enter your SMTP Server information.
The first section of the settings allows you to add the From Email, which is the email that your SMTP emails will be sent out from.
NOTICE: Your From Email has to be verified and approved sender within your Moosend account before continuing with this process!
And the From Name which is the name email are sent from, this is optional, and will not interfere with your connection.

After this you will be prompted to select your Mailer.
To connect with Moosend you need to select the Other SMTP option.
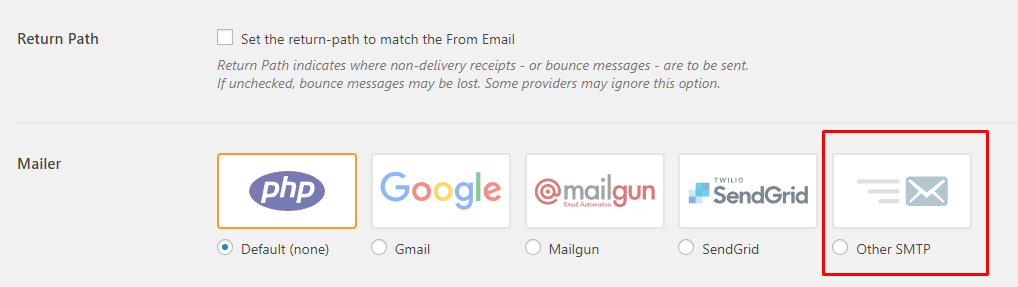
Click on it and the Following Configuration Settings page will appear:
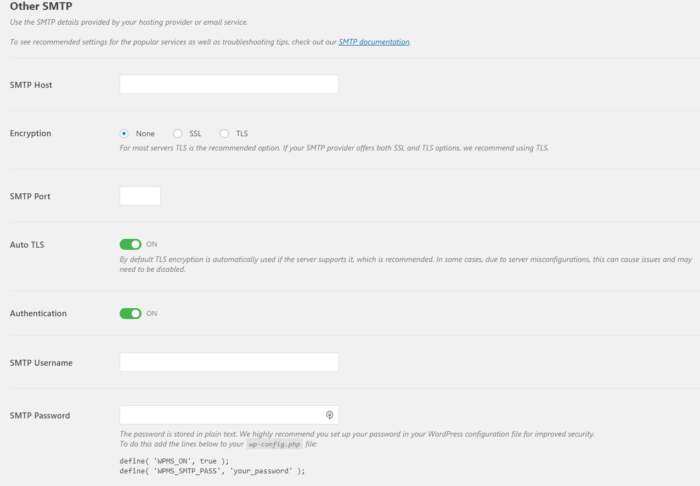
Now all you have to do is find those settings within your Moosend account.
To find those settings navigate to your Mailing Lists select the list which you want people to receive your emails.
Click on Direct SMTP from within the list menu.
And here are all your SMTP Configuration settings:

Copy those settings and add them within the WP Mail SMTP plugin like so:

Let’s breakdown what should be put within each field shown above:
- SMTP Host: smtp.mailendo.com
- Encryption: TLS
- SMTP Port: 465
NOTE* I am using port 465 in the above example instead of port 25 because of WordPress hosting provider limitations. Please check with your WordPress hosting provider which port they are supporting.
- SMTP Username: Your Moosend account email
- SMTP Password: Your Moosend account password
Click Save Settings and you are set.
Now that you’ve saved your settings it’s time to test whether the connection has been established.
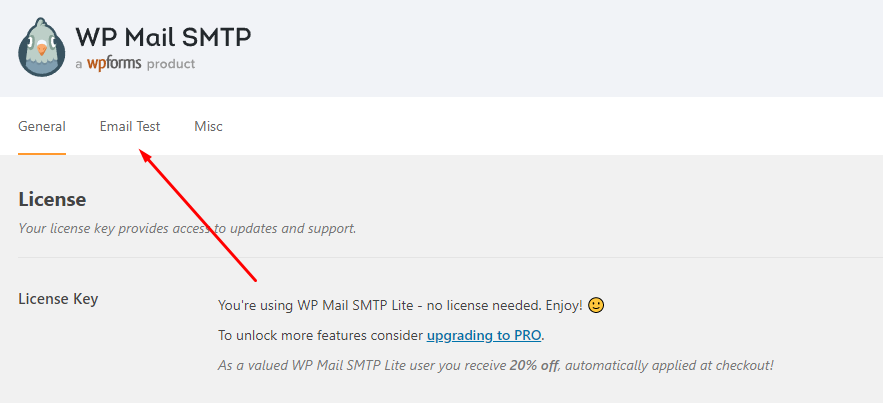
Step 3 – Testing
WP Mail SMTP allows you to easily test that.
Click on Email Test.
Insert your email address to send your email.
Click Send Email.
If you see this message you are set!
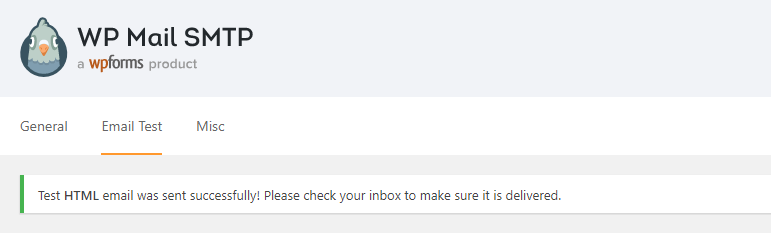
Check your inbox and you should see that your email has been successfully delivered to the email address you’ve inserted.

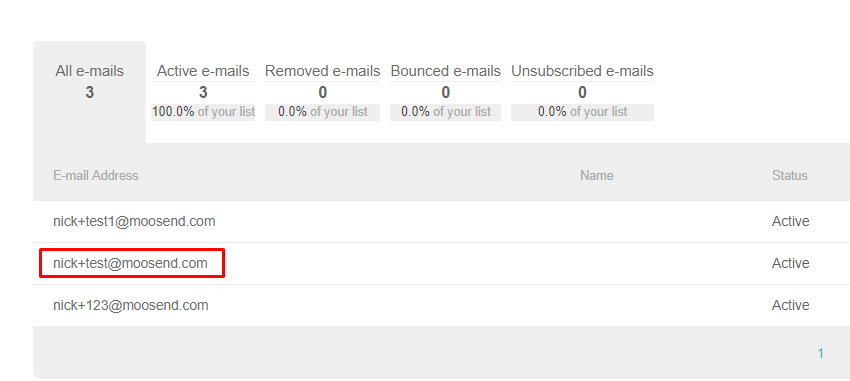
Step 4 – Checking Your List
The final step is to actually check whether that test email address has been added to your Email List within your Moosend Account.
As you can see the test email address I’ve used has been successfully imported within my email list.
In Conclusion
That’s one simple and easy way to connect your WordPress site with our SMTP Server without the need to code or adjust any WordPress files.
Here are some other WordPress Plugin alternatives in case the one above does not work with your WordPress installation and/or theme:
In case you experience any issues, feel free to contact our support team through LiveChat or Email us directly, using the contact form here: https://moosend.com/help/
Similar Posts


Create, send and optimize your email marketing campaigns!